Cat proof rental apartment planning is about preventing damage without creating new lease problems. Renters have a narrower path than homeowners: you need scratching outlets, cord protection, odor control, litter containment, and vertical enrichment, but you also need removable solutions that do not leave holes, residue, stains, or landlord disputes behind. For renter-safe vertical enrichment, compare options in our cat furniture for small apartment guide.
The best way to cat proof rental apartment spaces is to protect the most expensive surfaces first: walls, carpet, hardwood, doors, baseboards, window screens, cords, and any area around the litter box. Use renter-safe barriers, washable covers, scratchers your cat actually uses, cord channels, enzyme cleaners, and documentation photos before and after move-in.
If you need a stable scratcher, use our tall scratching post for large cats guide to choose a safer size and base.
Do not rely on punishment or last-minute cleaning. Damage prevention works best when your cat has legal scratching surfaces, stable climbing options, predictable play, and easy litter access from the beginning of the lease.
Quick Answer
The best way to cat proof rental apartment spaces is to protect the most expensive surfaces first: walls, carpet, hardwood, doors, baseboards, window screens, cords, and any area around the litter box. Use renter-safe barriers, washable covers, scratchers your cat actually uses, cord channels, enzyme cleaners, and documentation photos before and after move-in. For outdoor-edge risks, read our guide on how to cat-proof an apartment balcony.
Do not rely on punishment or last-minute cleaning. Damage prevention works best when your cat has legal scratching surfaces, stable climbing options, predictable play, and easy litter access from the beginning of the lease.
Rental and Cat Safety Note
Cat-proofing a rental apartment should never create a new safety risk or a lease problem. Before adding shelves, adhesive guards, gates, balcony barriers, cord covers, or floor protection, check your lease rules and make sure the product is safe for cats.
Avoid toxic cleaners, essential oils, unstable furniture, loose strings, unsafe balcony access, exposed cords, and adhesives that can pull paint or leave residue. If your cat is urinating outside the litter box, chewing cords, scratching obsessively, hiding constantly, or suddenly acting different, treat it as a possible stress or health issue first, not just a deposit problem.
This article is practical renter guidance, not legal advice. Deposit rules, pet fees, inspection standards, and modification rules vary by location and lease. When in doubt, document the apartment condition, ask the landlord in writing, and choose reversible fixes.

Table of Contents
Start With the Rental Deposit Risk Map
Cat proof rental apartment planning is not about covering every inch of the home with plastic. It is about protecting the surfaces most likely to create landlord disputes, deposit deductions, odor complaints, or permanent damage.
In a rental, the highest-risk areas are usually not the most obvious. A small scratch on a cheap chair matters less than claw marks on a door frame, urine odor near baseboards, damaged window screens, carpet pulling at bedroom doors, or adhesive residue on painted walls.
Use this table to prioritize the apartment before buying anything.
| Rental Risk Area | Why It Matters | Deposit-Safe Prevention |
|---|---|---|
| Carpet near doors | Cats may scratch when bored, anxious, or separated | Add a scratch mat, door draft guard, and daily play routine |
| Door frames and trim | Visible claw marks are hard to hide | Place vertical scratchers near favorite routes |
| Couch arms | Common scratching target | Use washable covers and better scratching surfaces |
| Hardwood or laminate floors | Litter, water, claws, and urine can leave marks | Use litter mats, feeding mats, and quick cleanup |
| Litter box zone | Odor and residue can affect walls and floors | Use mats, ventilation, scooping, and enzyme cleaner |
| Window screens | Cats may climb, push, or claw at them | Keep windows secured and add safer perch options |
| Balcony doors | Escape and fall risk | Use secure door routines and balcony safety checks |
| Cords and blinds | Chewing can be dangerous and costly | Use cord covers and safer enrichment |
| Walls and paint | Adhesives and shelves can damage finishes | Use no-drill solutions or lease-approved hardware |
| Baseboards | Urine, scratching, and rubbing can create residue | Inspect and clean regularly |
The goal is to prevent the expensive problems first. A rental apartment does not need to look like a cat showroom. It needs to be safe, cleanable, reversible, and realistic enough that you can maintain it through the whole lease.
Why Cat-Proofing a Rental Apartment Is Different From Cat-Proofing a Home
Cat-proofing a rental apartment is different because every solution has two audiences: your cat and your lease. A homeowner can drill shelves, replace flooring, change doors, repaint walls, or build permanent cat structures. A renter usually needs solutions that are safe, removable, affordable, and easy to explain during an inspection.
That changes the whole strategy. The best rental cat-proofing plan is not the most elaborate plan. It is the plan that prevents damage without creating new damage.
For example, a wall shelf may solve a climbing problem, but if it leaves anchor holes or violates the lease, it creates a different rental problem. A hidden litter cabinet may look better, but if it traps odor or causes litter box avoidance, it creates a bigger deposit risk. A strong adhesive scratch guard may protect a door, but if it pulls paint during removal, it still costs you money.
Renters need to think in layers:
- prevent the behavior problem
- protect the rental surface
- avoid unsafe products
- avoid permanent damage
- document the apartment condition
- maintain the system through the full lease
- leave the apartment clean at move-out
This is why observation matters. Before buying products, watch where your cat already scratches, jumps, tracks litter, spills water, chews, hides, and waits. The best solution is usually placed at the exact point of friction.
A cat-proof rental apartment should not feel like a cage. It should feel like a home where your cat has legal options and your landlord-owned surfaces are no longer the most attractive targets.
7 Deposit-Safe Ways to Cat-Proof a Rental Apartment
1. Protect the Scratching Zones First
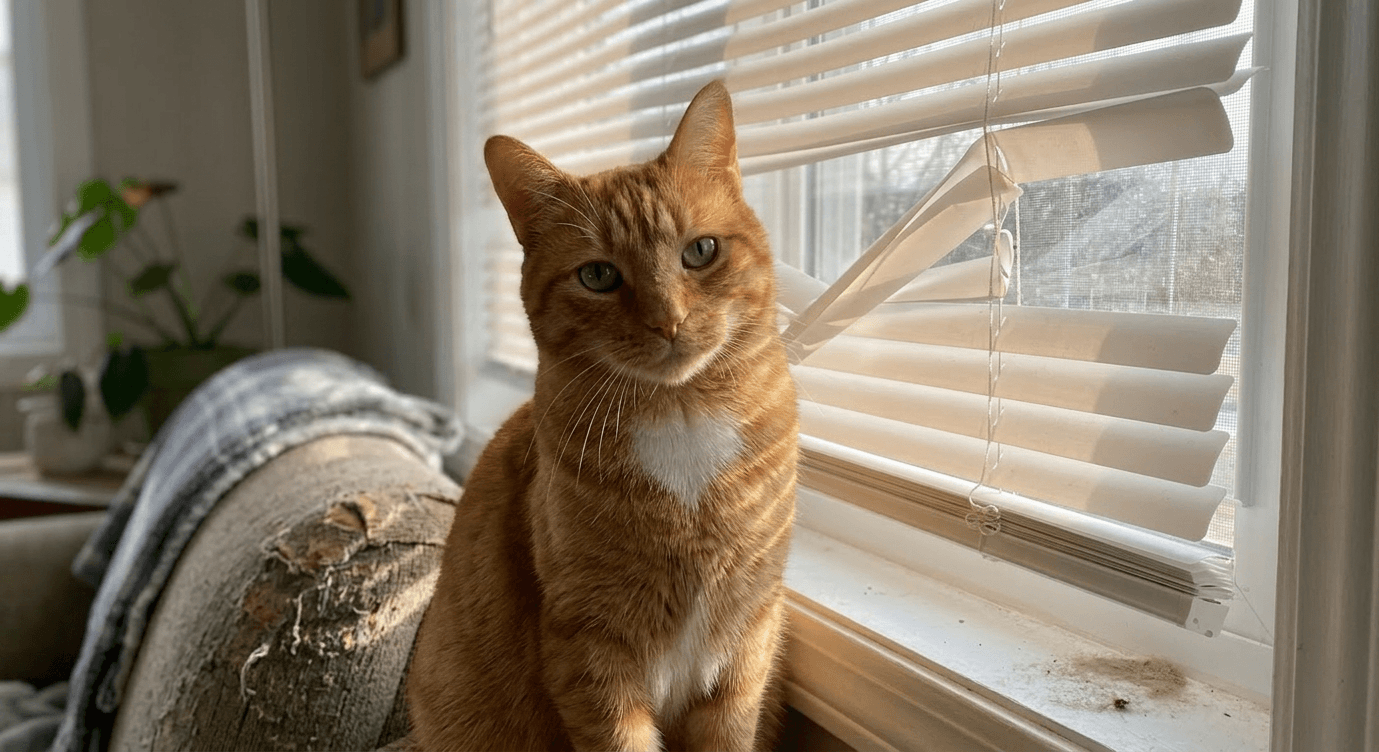
Scratching is one of the biggest rental damage risks because it often targets visible surfaces: couch arms, door frames, carpet edges, rugs, and baseboards. The solution is not to stop scratching. The solution is to move scratching to surfaces your cat prefers and your landlord does not own.
Place scratchers where the problem is happening, not where they look best. If your cat scratches the couch, put a scratcher beside the couch. If your cat scratches the carpet near the bedroom door, add a horizontal scratch mat or rug protector near that door. If your cat stretches upward on trim, use a tall vertical scratcher.
A stable scratcher matters more than a pretty one. If the post wobbles, slides, or feels too short, many cats ignore it. For large cats or strong scratchers, use a heavier, taller post. Our tall scratching post for large cats guide can help you choose a safer size and base.
Avoid punishment. Yelling, spraying water, or startling your cat may stop the behavior for a moment, but it does not protect the rental long-term. It can also increase stress scratching.
2. Make the Litter Box Area Landlord-Safe
The litter area is the second major deposit risk. Even a well-trained cat can create litter scatter, urine edge marks, wall residue, odor, or floor staining if the box area is not planned well.
A rental-safe litter area should include:
- a litter mat large enough to catch tracking
- a waterproof or washable layer under the box if appropriate
- enough clearance around the box for entry and turning
- regular scooping
- ventilation
- enzyme cleaner for accidents
- no strong fragrance that masks rather than solves odor
- wall protection if your cat pees high or kicks litter
If odor is the landlord’s biggest concern, start with routine rather than perfume. Scoop daily, wash the box regularly, keep litter depth appropriate, and clean accidents with enzyme cleaner.
For small apartments, pair this setup with our guide on how to keep a litter box from smelling in a small apartment. If the challenge is visibility, use our guide on how to hide a litter box in a small apartment without blocking airflow or access.
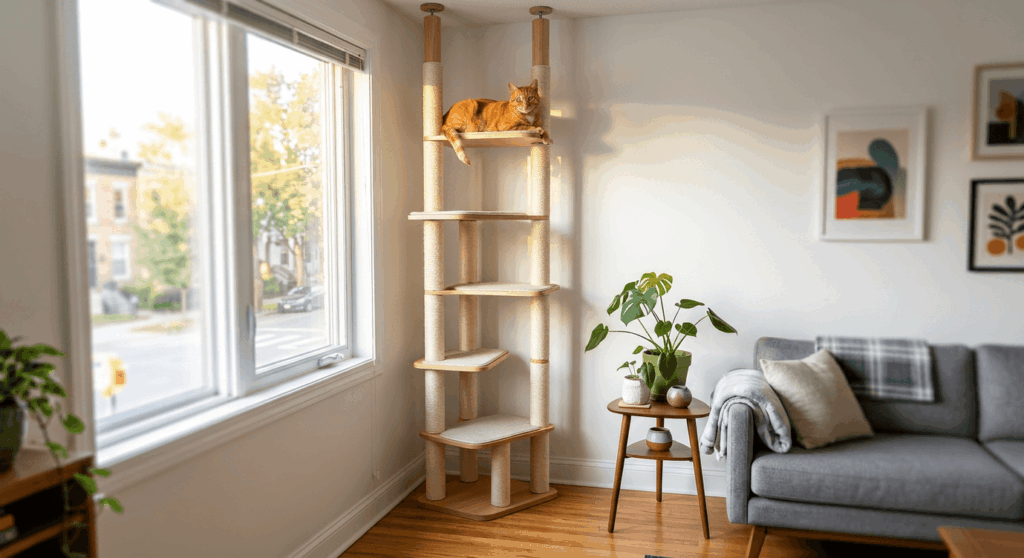
3. Use No-Drill Vertical Space
Cats need height, but renters need reversible solutions. Wall damage from shelves, anchors, or poorly removed adhesive can create deposit problems. Before installing anything, check your lease and decide whether the solution is truly renter-friendly.
No-drill options include:
- cat trees
- window perches with secure supports
- freestanding shelves
- furniture-based climbing routes
- low bookcases
- stable benches
- modular towers
- suction options only where safe and weight-rated
If you use wall-mounted shelves, document permission and install them correctly. Poor installation is dangerous for cats and bad for rental walls.
For renter-safe vertical choices, use our cat furniture for small apartment guide. The best setup gives your cat legal height without creating wall holes, unstable jumps, or lease disputes.
4. Secure Cords, Blinds, and Small Hazards
Cord chewing is both a safety risk and a rental risk. Damaged cords, blinds, chargers, lamp wires, and appliance cords can lead to injury, fire risk, or replacement costs.
Protect cords with:
- cord covers
- cable channels
- furniture placement
- closed cable boxes
- bitter products only if cat-safe and appropriate
- fewer dangling cords
- supervised access during setup changes
Blinds are another common rental issue. Cats may bend slats while watching birds, pawing at windows, or trying to reach sunlight. Open blinds enough that your cat can see out without pushing through them, or create a legal window perch that prevents climbing through the slats.
Do not rely on “my cat never does that.” Rental proofing should assume that boredom, stress, visitors, moving boxes, or schedule changes can create new behaviors.
5. Protect Floors Before Problems Start
Floors are expensive and easy to damage slowly. Litter grit, food spills, water bowls, claws, urine, vomit, and cleaning products can all affect rental floors.
Use mats in predictable zones:
- under food bowls
- under water fountains
- under litter boxes
- near litter exits
- under scratching zones
- near doors where your cat waits or scratches
Choose washable, non-slip mats that do not trap moisture against the floor. If a mat has a rubber backing, check it regularly because some backings can mark certain floor finishes over time.
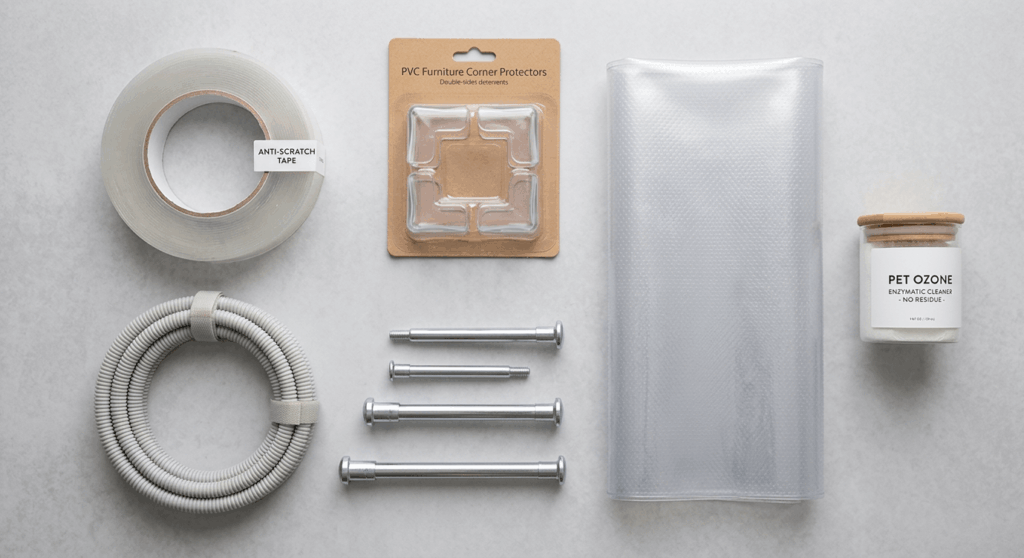
For cleaning, avoid harsh products or strong fragrances. Use cat-safe methods and test products carefully. Our cat-safe cleaning products guide can help you choose safer floor-cleaning options.
6. Document the Apartment Before and After Move-In
Documentation is not exciting, but it protects you. Before bringing your cat into the apartment, take photos and videos of floors, carpets, walls, baseboards, doors, screens, blinds, windows, and existing marks.
Document:
- scratches already present
- carpet wear
- stains
- chipped paint
- loose screens
- damaged blinds
- floor marks
- wall dents
- baseboard damage
- door scratches
- balcony or patio condition
Save the photos somewhere easy to find. If you later discuss damage, cleaning, or move-out condition, documentation is better than memory.
Do the same before moving out. A clean timeline can help show what was pre-existing, what you maintained, and what you repaired.
7. Build a Maintenance Routine You Will Actually Follow
A perfect setup fails if it is too annoying to maintain. Renters need simple routines that prevent small problems from becoming expensive problems.
Daily:
- scoop litter
- check food and water mats
- inspect door and carpet scratching zones
- give your cat a short play session
- remove visible litter scatter
Weekly:
- vacuum litter tracking
- wash mats as needed
- check scratchers for stability
- inspect cords and blinds
- clean around the litter area
- trim nails if your cat tolerates it
Monthly:
- inspect baseboards and doors
- deep clean the litter zone
- check under mats
- rotate scratchers if needed
- update photos if damage appears
- review whether the setup is still working
The best cat-proof rental apartment plan is boring in the right way. It prevents problems quietly before the landlord, neighbor, or move-out inspection ever notices them.
Common Rental Cat-Proofing Mistakes
Mistake 1: Buying Products Before Identifying the Risk
Do not start by buying random covers, sprays, shelves, and scratchers. Start by asking where the actual risk is: door frame, carpet, couch, litter area, cords, windows, or floors. One targeted fix is better than five products that do not address the real problem.
Mistake 2: Using Adhesives Without Testing
Adhesive products can be useful, but renters need caution. Some adhesive scratch guards, hooks, cable clips, and wall protectors can pull paint, leave residue, or damage finishes. Test in a hidden area when possible and follow removal instructions carefully.
Mistake 3: Forgetting That Cat Behavior Changes
A cat who never scratched the door before may start during a move, schedule change, new neighbor noise, or separation period. A cat who never had litter issues may struggle after box placement changes. Rental proofing should prepare for stress periods, not only normal days.
Mistake 4: Solving the Human Problem but Not the Cat Problem
A hidden litter box may look better to you, but if it traps odor, blocks access, or feels unsafe, your cat may avoid it. A beautiful scratcher may match the decor, but if it is too short or unstable, your cat may ignore it. Deposit-safe design still has to work for the cat.
Mistake 5: Waiting Until Move-Out to Clean
Move-out cleaning cannot fix every problem. Odor, urine, scratching, and floor damage are easier to prevent than repair. Clean small issues immediately and inspect high-risk zones throughout the lease.
Move-In Cat-Proofing Checklist
Before your cat gets full access to the rental, check the apartment room by room.
Entryway:
- secure the front door routine
- remove dangling bags or cords
- add a door mat if litter or dirt tracks in
- prevent bolting behavior early
Living room:
- place scratchers near furniture
- cover vulnerable couch arms
- protect cords
- create legal climbing or resting areas
- remove small chewable hazards
Bedroom:
- protect carpet near doors
- check under-bed hiding access
- secure cords and chargers
- provide a calm resting spot
Kitchen:
- secure trash
- protect cords
- remove toxic foods
- block access to unsafe cleaners
- keep counters less rewarding
Bathroom or litter area:
- place litter mat
- check ventilation
- keep cleaning products closed
- prevent water spills from sitting on flooring
- use enzyme cleaner for accidents
Windows and balcony:
- check screens
- secure balcony access
- avoid relying on screens as barriers
- create safe viewing spots indoors
- review our cat-proof balcony apartment guide if your apartment has outdoor access
Room-by-Room Rental Cat-Proofing Plan
A rental apartment is easier to protect when you plan by room. Each room has different risks, and each risk needs a different solution.
Entryway
The entryway is a high-risk zone because it combines shoes, bags, doors, keys, deliveries, guests, and hallway smells. Cats may wait here because the door is exciting or because they have learned that people greet them at the entrance.
Protect the entryway by keeping bags, strings, and shoes organized. Add a mat that can catch dirt and litter. If your cat rushes the door, create a station away from the entrance and reward that spot instead of greeting at the threshold.
If door rushing is already a problem, use our guide on how to stop cat from running out door.
Living Room
The living room usually contains the most tempting scratching surfaces: couch arms, rugs, curtains, chairs, and soft furniture. Protect it by placing scratchers beside the furniture your cat already targets.
Use washable throws, furniture covers, and stable scratchers. Do not hide scratchers in corners if your cat scratches the sofa in the center of the room. The scratcher needs to compete with the real target.
If your cat needs more legal furniture, use our cat furniture for small apartment guide to choose options that fit rental life.
Bedroom
Bedroom damage often happens around closed doors, carpet edges, cords, and under-bed hiding areas. If your cat scratches the bedroom door at night, the issue may be access, routine, attention, or separation stress.
Protect carpet near the door with a mat or runner. Keep cords off the floor. Avoid storing fragile items under the bed if your cat hides there. If the bedroom is used as a safe room during moving, make sure the litter box, water, and carrier can fit without blocking exits.
Kitchen
The kitchen has food smells, trash, counters, cords, cleaning products, and sometimes plants. Keep trash covered, secure food packaging, and store cleaning products safely. If your cat jumps onto counters, remove food rewards and create better legal height elsewhere.
Do not use harsh deterrent sprays or cleaners around food-prep surfaces. Choose cat-safe cleaning methods that do not leave strong residue.
Bathroom and Litter Area
The bathroom is often the easiest place for a litter box in a rental, but it can also create humidity, odor, and floor residue. Use a litter mat, scoop often, and keep cleaning supplies closed. If the box is near a bathtub or toilet, make sure your cat has enough space to enter and turn.
If your cat tracks litter across the apartment, upgrade the exit path with a better mat or box setup instead of blaming the cat.
Windows and Balcony Doors
Windows and balcony doors are safety zones, not just damage zones. Screens are not reliable cat barriers. Cats can push, climb, claw, or lean against them.
Check screen stability, window locks, blinds, and balcony access. If your apartment has a balcony, review your cat-proof balcony apartment setup before allowing access.
Storage Areas
Closets, laundry nooks, and storage corners can hide hazards: detergents, strings, plastic bags, tools, cords, and unstable stacks. Cats often explore these areas when bored or stressed. Keep chemicals closed and avoid creating unstable towers of boxes that your cat can climb or knock down.
Signs Your Rental Proofing Plan Is Working
Your plan is working if the apartment becomes easier to maintain and your cat has fewer reasons to target rental surfaces.
Good signs include:
- your cat uses scratchers instead of doors or furniture
- litter scatter is contained
- the apartment smells neutral
- cords stay untouched
- floor mats stay clean and dry
- your cat has legal climbing and resting spots
- doors and trim show no new damage
- your cat seems relaxed rather than restricted
- cleaning takes minutes, not hours
- move-out risks feel manageable
If the setup only looks good but your cat avoids it, revise the setup. A rental-safe plan has to satisfy both sides: your lease and your cat.
Move-Out Preparation for Cat Owners
A strong cat-proofing plan starts on move-in day, but it should also protect you on move-out day. Many deposit disputes happen because the tenant and landlord remember the apartment differently. Documentation helps.
Before moving out, inspect the same areas you photographed at move-in:
- doors
- trim
- baseboards
- carpet
- rugs
- flooring
- walls
- blinds
- window screens
- litter box area
- food and water station
- balcony door
- closet floors
- under furniture
Clean gradually instead of waiting until the final day. Litter dust, fur, food residue, and small odor issues are easier to handle before boxes and moving stress take over.
Use enzyme cleaner on any suspected urine area, even if you cannot smell it strongly. Do not use strong fragrance to cover odors. A landlord, cleaner, or future tenant may notice the mixed smell more than the original odor.
Before the final walkthrough:
- remove all litter residue
- vacuum edges and corners
- wash mats and covers
- clean under food and water bowls
- wipe baseboards near litter areas
- inspect carpet near closed doors
- check behind furniture
- remove adhesive carefully
- repair only what your lease allows
- take final photos in good light
If you installed anything with permission, remove it according to the agreement. If you are unsure whether to patch, paint, or leave a fixture, check the lease or ask the landlord in writing.
Move-out cleaning should not be the first time you inspect the apartment. If you have followed a monthly routine, the final cleaning should feel manageable rather than desperate.
When Cat-Proofing Is Not Enough
Sometimes rental damage risk is not just a product problem. It may be a behavior or medical issue.
Call your veterinarian or seek qualified behavior support if your cat:
- urinates outside the litter box
- scratches obsessively
- chews cords repeatedly
- hides constantly
- suddenly becomes aggressive
- vocalizes intensely at doors
- refuses the litter box
- overgrooms
- stops eating normally
- seems painful or stiff
- changes behavior suddenly
A cat-proof rental apartment plan can reduce damage, but it cannot diagnose pain, urinary disease, arthritis, anxiety, dental pain, cognitive changes, or stress-related illness.
If the behavior is sudden, intense, or paired with appetite, urine, stool, mobility, breathing, or weight changes, treat it as a health question first.
Frequently Asked Questions
1. What is the single most effective way to cat proof rental apartment spaces on a tight budget?
Start with scratching and litter protection. Those are usually the two biggest deposit risks. Add a stable scratcher near the problem area, a litter mat under and around the box, and a simple daily cleaning routine.
If you can only buy one thing, choose the item that protects the surface your cat is already targeting.
2. How do I stop my cat from scratching the carpet at the bedroom door?
Door-carpet scratching often happens because the cat wants access, attention, or routine control. Add a horizontal scratch mat near the door, increase play before closed-door periods, and avoid rewarding the scratching by opening the door every time.
If the behavior is new or intense, check whether stress, boredom, or a schedule change is driving it.
3. Can I cat proof a rental apartment without drilling?
Yes. Use freestanding cat trees, no-drill gates, washable covers, cord covers, mats, furniture placement, window perches with safe supports, and stable scratchers. If you need wall-mounted items, check the lease and get permission before installing.
No-drill does not mean unstable. Any cat furniture should still be sturdy enough for jumping, scratching, and daily use.
4. What is the biggest deposit risk with indoor cats?
The biggest risks are usually urine odor, carpet damage, door or trim scratching, and floor staining around litter and food areas. These are the problems landlords notice most during move-out inspections.
Prevention is easier than repair. Protect high-risk zones from the first day of the lease.
5. Are adhesive scratch guards safe for rentals?
Some can work, but test carefully. Adhesives may pull paint, leave residue, or damage delicate surfaces. Use renter-safe products, follow removal instructions, and avoid placing adhesives on surfaces your lease specifically protects.
When in doubt, use freestanding barriers, furniture placement, or washable covers instead.
6. What should I photograph before moving out?
Photograph floors, doors, trim, carpets, walls, windows, screens, blinds, baseboards, litter areas, and any pre-existing marks. Also photograph the same areas after cleaning before move-out.
Good documentation can help prevent confusion about what was pre-existing and what changed during your lease.
7. Should I tell my landlord how I cat-proofed the apartment?
If you are applying for an apartment or renewing a lease, a simple prevention plan can help. You do not need to overwhelm the landlord with every product, but you can mention litter control, scratch prevention, cleaning routines, and move-out responsibility.
For application strategy, use our renting with a cat tips guide.
Final Thoughts
cat proof rental apartment is not about making the apartment perfect. It is about making the home easier for your cat to use safely and predictably. The best solution answers the searcher’s immediate question, respects the limits of apartment living, and keeps the cat’s welfare at the center.
Start with observation, make one practical change, and watch how your cat responds. If the pattern involves sudden behavior change, pain, appetite loss, litter box problems, breathing changes, or weakness, bring your veterinarian into the decision. A good apartment system supports daily life, but it does not replace medical care.
References
- ASPCA: Toxic and Non-Toxic Plants. https://www.aspca.org/pet-care/animal-poison-control/cats-plant-list
- AAFP/ISFM Environmental Needs Guidelines. https://journals.sagepub.com/doi/10.1177/1098612X13477537
- VCA: Destructive Scratching in Cats. https://vcahospitals.com/know-your-pet/destructive-scratching-in-cats
- EPA: Safer Choice. https://www.epa.gov/saferchoice
- Bernstein, P. L., & Strack, M. (1996). A game of cat and house: Spatial patterns and behavior of 14 domestic cats (Felis catus) in the home. Anthrozoös, 9(1), 25–39. https://doi.org/10.2752/089279396787001592
- Ellis, S. L. H., & Wells, D. L. (2010). The influence of olfactory stimulation on the behaviour of cats housed in a rescue shelter. Applied Animal Behaviour Science, 123(1), 56–63. https://doi.org/10.1016/j.applanim.2009.12.011
-300x169.png)
-300x169.png)
-300x169.png)