Cat carrier training starts with making the carrier feel like a safe everyday space, not a trap that appears only before stressful vet visits. In a small apartment, the carrier can become a familiar resting spot, feeding station, and calm travel tool when you introduce it gradually.
The biggest mistake is treating carrier panic, last-minute chasing, and stressful vet transport as a personality flaw. Most indoor cats are responding to access, timing, scent, boredom, discomfort, hunger, stress, or learned rewards. When the environment changes, the behavior usually changes too. The goal is to make the healthier option obvious, repeatable, and low-friction for both you and your cat.
For apartment cats, the practical question is not “What would be perfect?” It is “What can I repeat on a normal weekday when I am tired, the floor space is limited, and the neighbors can hear every loud crash?” A good plan survives real life: work schedules, tiny kitchens, rental rules, shared walls, and the fact that cats notice patterns faster than we do.
Use this guide as a decision framework. Start with the lowest-risk change, observe your cat’s response for a few days, and then adjust. If the issue involves pain, appetite change, vomiting, urinary signs, sudden aggression, severe fear, or major behavior change, treat it as a veterinary question before treating it as a training problem.
Quick Answer
Cat carrier training works best when you combine one immediate environmental fix with a repeatable routine. For most apartment cats, that means removing the reward for the unwanted behavior, adding a better legal alternative, and keeping the timing consistent long enough for the new pattern to become predictable.
Start with three questions: what is the cat getting from this behavior, what safe replacement can provide the same benefit, and what part of the apartment setup is making the unwanted behavior too easy? Once you answer those, the solution becomes much less mysterious.
A good first-week plan is simple: choose one main fix, make it visible and easy for your cat to use, remove competing rewards, and track the behavior for seven days. Do not change five things at once if you want to know what actually helped.
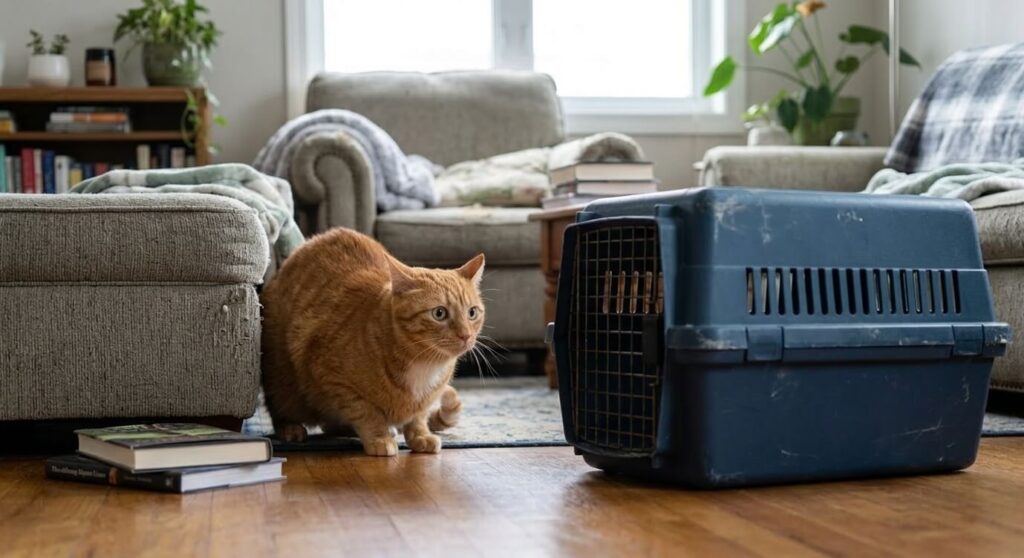
Table of Contents
Why Cat Carrier Training Matters in an Apartment
Cat carrier training is not only about making vet visits easier. For indoor apartment cats, the carrier is part of safety planning. It affects veterinary care, emergency evacuation, moving day, car travel, boarding decisions, and whether you can transport your cat without panic, chasing, or injury.
In a house, a cat may have more rooms to retreat to and more space for a slow capture. In an apartment, the situation is tighter. A frightened cat may hide under the bed, behind furniture, inside closets, or near the apartment door. If you need to leave quickly, the difference between a cat who tolerates the carrier and a cat who disappears when the carrier appears can become serious.
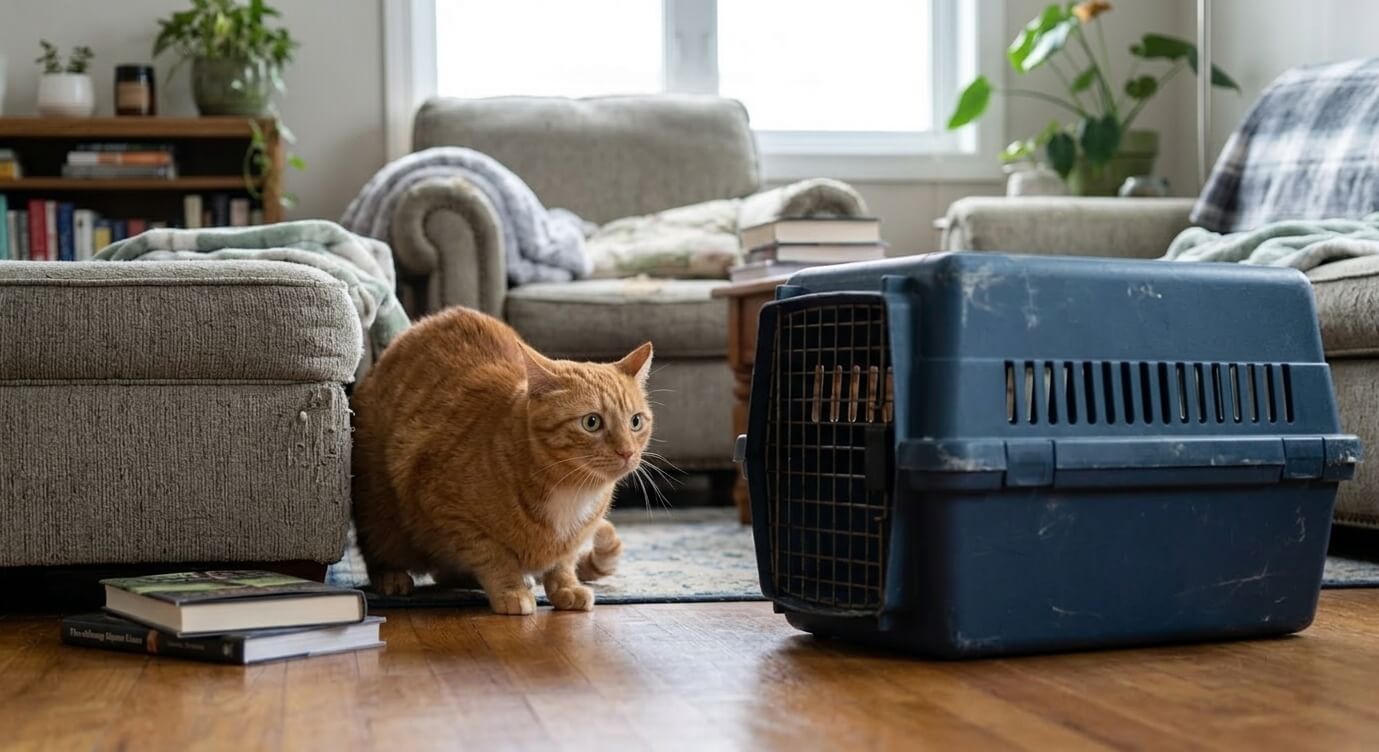
Carrier fear usually comes from pattern learning. Many cats only see the carrier before stressful events: vet visits, car rides, grooming appointments, boarding, emergencies, or moving. The carrier appears, the owner becomes tense, the cat is grabbed, the door closes, the car moves, and something unpleasant happens. After a few repetitions, the carrier itself becomes the warning signal.
The goal of cat carrier training is to change that meaning. The carrier should become part of the normal apartment environment: a resting spot, treat station, safe hideout, and calm travel tool. When the carrier becomes familiar before you need it, transport becomes safer for both you and your cat.
Cat Carrier Training Safety Note
Do not force your cat into the carrier unless there is an emergency or urgent medical need. Chasing, grabbing, shaking furniture, blocking every escape route, or pushing a frightened cat through a small carrier door can make future carrier training harder.
If your cat is injured, breathing abnormally, unable to urinate, collapsing, repeatedly vomiting, or showing severe pain, do not delay veterinary care to complete training. In urgent situations, safety comes first. Use the safest containment method available and contact your veterinarian or emergency clinic.
For routine training, work below your cat’s panic threshold. A good session ends while your cat is still willing to participate. If your cat bolts, growls, pants, freezes, swats, hides for hours, or refuses food afterward, the session was too hard.
Cat Carrier Training Timeline
Most cats do not become carrier-comfortable in one session. Some confident cats improve within a few days. Nervous cats, cats with bad carrier history, senior cats, and cats who only travel for stressful vet visits may need several weeks.
Use this timeline as a guide, not a deadline.
| Training Stage | Goal | Typical Timeline |
|---|---|---|
| Carrier visible | Cat can see the carrier without fleeing | 1 to 3 days |
| Carrier near routine | Cat accepts the carrier near food, bed, or play area | 2 to 7 days |
| Voluntary approach | Cat sniffs or walks near the carrier | 3 to 10 days |
| Partial entry | Cat puts head or front paws inside | 1 to 2 weeks |
| Full entry | Cat enters with all four paws | 1 to 3 weeks |
| Door movement | Cat tolerates brief door contact | 2 to 4 weeks |
| Door closed briefly | Cat stays calm for a few seconds to minutes | 3 to 6 weeks |
| Short carry | Cat tolerates being lifted and carried briefly | 4 to 8 weeks |
| Short travel | Cat tolerates hallway, elevator, car, or vet-style trip | varies |
The exact timeline matters less than the direction. If your cat is approaching the carrier more often, staying calmer, eating closer to it, or recovering faster after short sessions, the plan is working.
7 Safe Easy Steps for Cat Carrier Training
Step 1: Make the Carrier a Normal Object
Start by leaving the carrier out all the time. Do not hide it in a closet and only bring it out before vet visits. That pattern teaches your cat that the carrier predicts trouble.
Place the carrier in a quiet part of the apartment where your cat already feels safe. Good locations include beside a sofa, near a favorite bed, beside a low shelf, or in a quiet bedroom corner. Avoid placing it directly beside the front door if your cat already associates that area with leaving.
Remove the door if the carrier design allows it. If not, keep the door tied or propped open so it cannot swing shut suddenly. Add a familiar towel, soft blanket, or old T-shirt that smells like home.
At this stage, do not ask your cat to enter. The first goal is simple: the carrier exists, and nothing bad happens.
Step 2: Build Positive Associations Around the Carrier
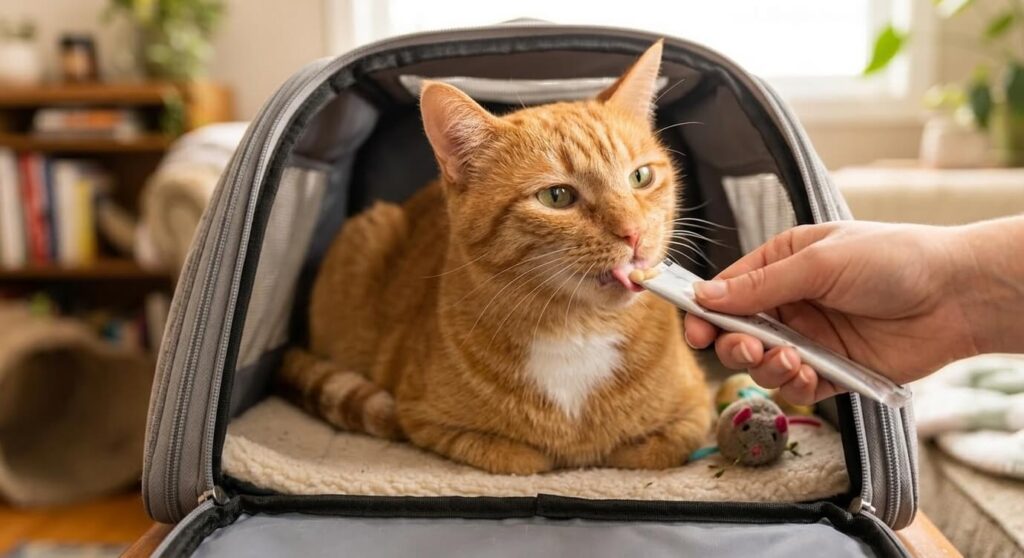
Once your cat can see the carrier without leaving the room, start pairing it with good things. Place treats near the carrier entrance. Feed part of a meal nearby. Use gentle play in the same area. Let the carrier become part of normal daily life.
Start outside the carrier, not inside it. If your cat is suspicious, place the treat several feet away. Over days, move the reward closer. The cat should choose to approach.
Use high-value rewards only for carrier work if your cat is food motivated. Small pieces of preferred treats, a spoon of wet food, or a few kibbles from the daily ration can work. If your cat is not very food motivated, use calm attention, brushing, or play near the carrier instead.
The key is consistency. One good session will not erase years of carrier fear. Small predictable repetitions build trust.
Step 3: Reward Voluntary Entry
When your cat begins sniffing the carrier, looking inside, or stepping near the entrance, reward that choice. Do not rush to close the door. The fastest way to ruin progress is to trap the cat the first time they enter.
Put treats just inside the entrance. Then place them a little farther back. Let your cat step in, eat, and leave. Leaving is important. A cat who knows they can exit is more likely to return.
If your cat only puts the front paws in, reward that. If your cat stretches their neck in without entering, reward that. If your cat sits beside the carrier calmly, reward that too. Training moves faster when you reward small steps instead of waiting for the final behavior.
For nervous cats, this stage may take the longest. That is normal.
Step 4: Add the Door Without Closing It
Once your cat enters the carrier comfortably, reintroduce the door slowly. Many cats are fine with the carrier until the door moves. The door is the moment they realize they may lose control.
Start by touching the door lightly while your cat is near the carrier, then reward. Later, move the door slightly while your cat is inside, then reward and let them leave. Do not latch it yet.
The first goal is not confinement. The goal is teaching your cat that door movement does not always mean a stressful trip.
If your cat backs out immediately, you moved too fast. Go back to open-door entry for a few more days.
Step 5: Close the Door for One Second
When your cat can enter calmly and tolerate door movement, close the door for one second, reward, and open it. Keep the session boring and short.
Gradually increase time:
- 1 second
- 3 seconds
- 5 seconds
- 10 seconds
- 20 seconds
- 30 seconds
- 1 minute
- 2 minutes
Do not jump from one second to five minutes. Cats notice sudden changes. A slow increase builds confidence.
If your cat eats while the door is closed, that is a good sign. If your cat stops eating, freezes, or pushes hard against the door, shorten the session.
Step 6: Practice Lifting and Carrying
A cat who accepts the carrier on the floor may still panic when the carrier moves. Lifting changes balance, sound, and control. Add this step before you need a real vet visit or moving day.
Start by placing your hands on the carrier without lifting it. Reward. Then lift it one inch, set it down, reward, and open the door. Later, carry it across the room. Then carry it to the apartment door. Then to the hallway. Then to the elevator or car only when your cat is ready.
In an apartment, hallway practice matters. Shared corridors, neighbor noise, doors, stairwells, and elevators can be more stressful than the carrier itself.
If your cat is likely to bolt at doors, pair carrier practice with door-safety work. Our guide on how to stop a cat from running out the door can help you make the exit area safer.
Step 7: Practice Real-Life Carrier Uses
The final step is teaching your cat that the carrier does not always mean a vet visit. Use the carrier for short neutral experiences.
You can practice:
- sitting in the carrier while you sit nearby
- being carried to another room
- a short hallway trip
- a brief elevator exposure
- a short car sit without driving
- a short car ride around the block
- entering the carrier before a treat or meal
- resting in the carrier with the door open
For cats who need future travel, pair this with our guide to traveling with a cat in a car.
For emergency planning, the carrier should also connect to your apartment cat emergency evacuation plan. In a fire alarm, water leak, building evacuation, or urgent vet situation, a trained carrier response can save time.
How to Choose the Right Carrier for Training
Cat carrier training is easier when the carrier itself is not working against the cat. Some cats fail carrier training not because they are stubborn, but because the carrier is too small, unstable, slippery, dark, noisy, or difficult to enter.
For most indoor cats, the best training carrier is simple, stable, and easy to open. A carrier does not need to be fancy. It needs to feel predictable.
Look for these features:
- enough room for your cat to turn around
- a secure door latch
- a stable base that does not flex
- good ventilation
- a removable top or top-loading door if possible
- a washable bottom
- a non-slip pad or towel inside
- no sharp edges
- no loose straps your cat can chew
- a shape that fits your apartment storage space
Top-entry or two-door carriers are especially useful for cats who panic when pushed through a front door. With a top-loading carrier, you can lower the cat gently instead of forcing them forward. This can reduce conflict during vet visits, moving day, and emergency situations.
Soft-sided carriers can work for calm cats and short trips, but they are not ideal for every cat. Some cats push against soft sides, unzip weak closures, chew mesh, or feel less stable when the carrier bends. Hard-sided carriers are often easier to clean and more secure for anxious cats.
Backpack carriers can be convenient in apartments with stairs or no parking, but they should be used carefully. Some cats dislike the vertical movement, narrow shape, or extra visual exposure. If you use one, test it slowly at home before using it in a hallway, elevator, sidewalk, or car.
The best carrier for training is the one your cat can enter voluntarily, rest inside calmly, and tolerate being moved in without feeling trapped or unstable.
Carrier Placement in a Small Apartment
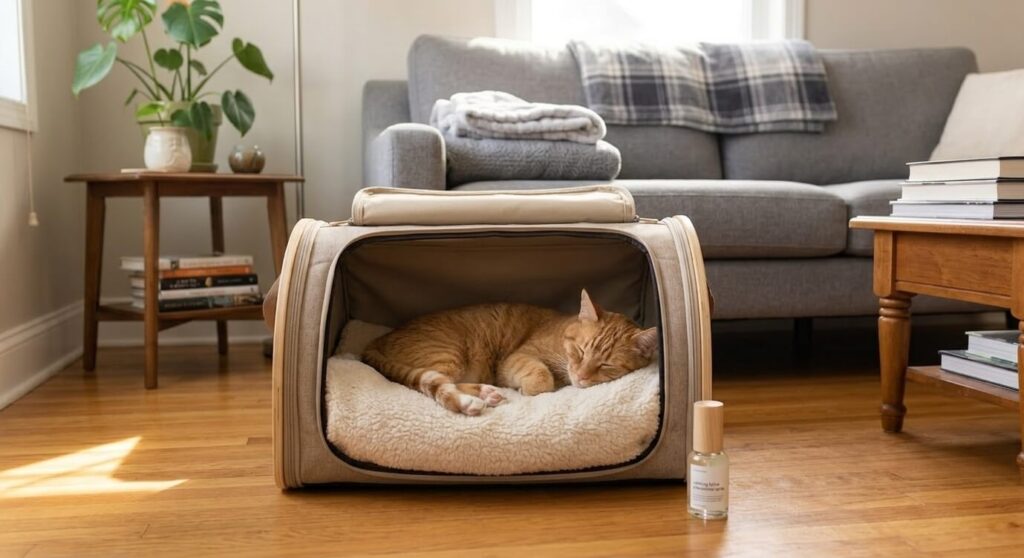
Where you place the carrier matters. In a small apartment, every object competes for space, so it is tempting to store the carrier in a closet, under the bed, or on a high shelf. That keeps the room tidy, but it makes training harder.
If the carrier only appears before stressful events, your cat learns the pattern quickly. The carrier becomes a warning sign.
Better carrier locations include:
- beside a sofa
- near a familiar bed
- in a quiet bedroom corner
- under a side table with the door open
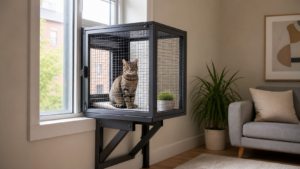
- near a window perch but away from direct drafts
- beside a low shelf your cat already uses
- near a feeding area if your cat is food motivated
Avoid placing the carrier:
- directly beside the front door if your cat bolts
- next to a washing machine or noisy appliance
- in a busy hallway
- beside the litter box
- in direct sun for long periods
- near strong smells, cleaners, or air fresheners
- where the door swings shut by accident
If your apartment is very small, make the carrier serve another purpose. It can become a covered resting spot, a treat station, or a quiet hideout. Add a familiar towel and keep the door open. The goal is to make the carrier part of the room, not a strange object that appears only when something bad is about to happen.
For cats who hide during alarms, maintenance visits, or moving, carrier placement also matters for safety. Keep it somewhere you can reach quickly. A carrier buried behind boxes is not useful during an emergency.
When Carrier Training Matters Most
Cat carrier training is useful for more than vet visits. A comfortable carrier routine helps during moving day, emergency evacuation, car travel, boarding, pet sitter handoff, and any situation where your cat needs to be safely contained.
If your cat may need to stay somewhere else while you travel, decide the care plan before the trip. Carrier training is only one part of the process. You also need to know whether your cat will do better with in-home care, a sitter visit, or boarding.
Cat Carrier Training for Different Situations
Carrier training should match the real reason your cat needs the carrier. A cat who only needs annual vet visits may need a different plan from a cat who travels by car, moves apartments often, boards during vacations, or has medical monitoring needs.
For Vet Visits
For vet visits, the goal is calm loading and safe transport. Practice closing the door, lifting the carrier, carrying it to the apartment door, and setting it down gently. Do not make every practice session end in a car ride. Many sessions should end with treats, quiet praise, and release.
If your cat only enters the carrier on vet day, the carrier will keep feeling suspicious. Use short practice sessions between appointments so the carrier becomes ordinary.
After a surgical procedure, transport is only the first step. Prepare the home environment before the appointment with our cat post surgery care guide, then follow the clinic’s procedure-specific discharge instructions.
For Moving Day
Moving day is harder because doors open, furniture moves, strangers enter, and familiar hiding places disappear. Carrier training should happen weeks before moving, not the morning of the move.
For a move, practice:
- entering the carrier voluntarily
- tolerating the door closed
- being carried through the apartment
- hearing hallway sounds
- waiting in the carrier briefly
- settling in a closed room after release
If you are preparing for a move, pair this routine with our moving apartment with cat guide or the full moving with a cat to a new apartment plan.
For Emergency Evacuation
Emergency evacuation is the highest-risk carrier situation because you may have very little time. A cat who hides under the bed when alarms sound may be difficult to reach. A cat who accepts the carrier calmly gives you more options.
For emergency readiness, keep the carrier accessible and pair it with your go-bag. Review your apartment cat emergency evacuation plan so the carrier is part of a larger safety system, not a last-minute scramble.
For Car Travel
Car travel adds motion, vibration, traffic sounds, and unfamiliar smells. A cat may accept the carrier indoors but still panic in the car. Build the steps slowly: carrier on floor, carrier lifted, carrier near door, carrier in hallway, carrier in parked car, then short drive.
For longer trips, use our guide to traveling with a cat in a car so carrier training connects with temperature safety, route planning, breaks, and stress management.
For Boarding or Pet Sitter Handoff
If your cat may board or move temporarily to another care environment, carrier training becomes part of the care plan. The carrier should not be the first stressful event of the trip.
If you are deciding between boarding and in-home care, use our cat boarding vs pet sitter care guide before the trip. Some cats handle a sitter better. Others need boarding for medication, monitoring, or safety reasons. Carrier training helps either way, but the larger care plan matters too.
Multi-Cat Carrier Training
Multi-cat homes need a slightly different carrier plan. Do not assume one carrier routine will work for every cat. One cat may enter easily while another hides. One cat may be food motivated while another needs play or calm attention. One cat may panic if the other cat is nearby.
Train each cat separately at first. Use separate carriers if possible. Label each carrier so you know which cat uses which one, especially for medical visits or emergencies.
Helpful multi-cat carrier habits include:
- one carrier per cat
- separate practice sessions
- feeding treats near each cat’s own carrier
- keeping carriers visible before stressful events
- avoiding competition around carrier rewards
- practicing calm door closure for each cat
- keeping carriers accessible in emergencies
If one cat guards food, space, or access routes, do not place the carrier in a high-pressure area. A nervous cat may avoid the carrier if another cat blocks the path. In that case, place the carrier in a quiet room where the cat can approach without being watched or interrupted.
For broader resource planning in shared homes,
Common Cat Carrier Training Mistakes
Mistake 1: Bringing Out the Carrier Only on Vet Day
This is the most common reason cats fear carriers. If the carrier only appears before stressful trips, your cat learns that the carrier predicts bad news. Bring it out during normal life instead. Let it sit open. Add a familiar blanket. Drop treats near it. Make it boring.
Mistake 2: Closing the Door Too Soon
The first time your cat enters the carrier should not be the first time the door closes. Let your cat enter and leave many times before you add door movement. Trust grows when the cat realizes entry does not always mean confinement.
Mistake 3: Chasing the Cat Into the Carrier
Chasing may work once, but it makes the next session harder. The cat learns that the carrier is part of a capture event. For routine training, use voluntary approach, food, scent, and gradual steps. Save forced containment only for true emergencies or urgent medical situations.
Mistake 4: Practicing Too Long
Short sessions are better than long sessions. A one-minute calm session can be more useful than a ten-minute stressful one. Stop while your cat is still willing to participate. End with an easy win.
Mistake 5: Ignoring the Door, Lift, and Carry Steps
Many cats will enter a carrier on the floor but panic when the door closes or the carrier moves. Train those steps separately. Door movement, door closure, lifting, carrying, hallway exposure, and car exposure are different skills.
Mistake 6: Using the Wrong Carrier for the Cat
Some cats need top-loading access. Some need a larger carrier. Some need a more stable base. Some need less visual exposure. If your cat repeatedly panics in one carrier style, the problem may not be training alone. The carrier may need to change.
Mistake 7: Making the Carrier Smell Unfamiliar
Strong cleaners, new plastic smell, perfume, air freshener, or another animal’s scent can make a carrier less inviting. Use a familiar towel or blanket. Clean accidents with pet-safe products, then let the carrier dry fully before training again.
Mistake 8: Skipping Training Because the Cat Is “Indoor Only”
Indoor cats still need carriers. They need veterinary care, emergency evacuation options, moving-day safety, and secure transport if something unexpected happens. Indoor-only does not mean transport will never be needed.
Troubleshooting Cat Carrier Training Problems
My Cat Will Not Go Near the Carrier
Move the carrier farther away from your cat’s core resting area and make the first goal easier. Do not start with entry. Start with calm presence. Reward your cat for being in the same room as the carrier. Then reward looking at it. Then walking near it. Then sniffing it.
My Cat Goes In but Runs Out Immediately
That is still progress. Do not close the door yet. Place treats near the entrance and let your cat leave. Over time, move the reward slightly farther inside. The goal is to make staying inside feel safe.
My Cat Panics When the Door Closes
Go back to door movement without closure. Touch the door, reward, and stop. Then move the door one inch, reward, and stop. Closing the door should be the final step, not the first door exercise.
My Cat Cries in the Carrier
Some vocalizing can happen, especially during early training or travel. Stay calm. Do not yell, shake the carrier, or release your cat at the peak of panic unless safety requires it. Shorten the next session and return to an easier stage.
My Cat Hides When the Carrier Appears
Leave the carrier out permanently for a while. The carrier should stop being a special event. If your cat only sees it before travel, hiding makes sense. Make the carrier part of the apartment background before asking for entry.
Frequently Asked Questions
1. How long does cat carrier training take?
Cat carrier training can take a few days for a confident cat and several weeks for a fearful cat. Cats with bad carrier history often need the slowest plan. The goal is steady improvement, not a fixed deadline.
A good sign is not that your cat suddenly loves the carrier. A good sign is that your cat can see the carrier without hiding, walk near it, sniff it, step inside, and recover faster after each session.
2. Should I leave the carrier out all the time?
Yes, if you have space. Leaving the carrier out helps it become familiar. If your apartment is small, place it under a side table, beside a bed, or in a quiet corner so it functions like a normal resting spot instead of a strange object.
If you cannot leave it out permanently, bring it out several days before any planned vet visit, car trip, boarding stay, or move. Do not let the carrier appear only on stressful days.
3. What if my cat only enters the carrier for treats?
That is fine at first. Food rewards help create a positive association. Over time, add calm resting, short door closure, and lifting practice so your cat learns more than just “walk in, eat, walk out.”
Use very small rewards so you can repeat the exercise without overfeeding. If your cat is on a diet or prescription food, use part of the daily food allowance or ask your veterinarian what rewards are safe.
4. Is a top-loading carrier better?
A top-loading carrier can be better for cats who resist front-door entry. It allows gentler placement during urgent situations and can make vet visits less stressful. However, the best carrier is the one your cat can use safely and the one you can close securely.
For routine training, a front-opening carrier can still work well if your cat enters voluntarily. For anxious cats, two-door carriers often give the most flexibility.
5. Can I train an older cat to use a carrier?
Yes. Senior cats can learn carrier routines, but they may need slower steps, softer bedding, lower entry, and less pressure. If arthritis, pain, vision changes, or anxiety are involved, keep sessions gentle and ask your veterinarian for guidance.
For senior cats, comfort matters more than speed. A carrier with a low entry, stable base, and soft non-slip bedding can make training much easier.
6. Should I use calming spray or medication?
Calming sprays may help some cats, but they should support training rather than replace it. Do not give sedatives, supplements, or medication without veterinary guidance, especially if your cat has medical conditions or is taking other medication.
If your cat has severe travel panic, talk to your veterinarian before a planned appointment, move, or long car trip. Do not wait until the morning of travel to test a new calming product.
7. What if I need the carrier before training is complete?
Use the safest option available. For urgent veterinary care, evacuation, or moving day, you may need to contain your cat before training is finished. After the event, restart with easy steps so the carrier does not become even more frightening.
In true emergencies, safety comes first. For everyday training, go slowly and rebuild trust.
8. Can carrier training help with vet visits?
Yes. Carrier training can reduce the stress before the appointment, which often makes the entire visit easier. It does not remove every stressor, but it can prevent the worst part: chasing, hiding, forced loading, and arriving already panicked.
A calmer arrival may also help your veterinary team examine your cat more safely and accurately.
Final Thoughts
Cat carrier training becomes easier when you stop treating the issue as a single annoying behavior and start treating it as an apartment system. Your cat is responding to layout, timing, access, rewards, and comfort. Change those inputs carefully, and the output usually changes too.
Start small. Choose one legal alternative, one reward to remove, and one metric to track for the next week. If the behavior improves, build from there. If it does not, reassess the real reward and check for health or stress signals.
Indoor cats do best when their homes make natural behavior safe. That is the quiet goal behind every good apartment cat plan: fewer battles, clearer routines, safer choices, and a home that works for both species.
References
AAFP and ISFM feline environmental needs guidelines
VCA Hospitals pet health library
Merck Veterinary Manual cat behavior overview
Rodan, I., et al. (2011). AAFP and ISFM Feline-Friendly Handling Guidelines. Journal of Feline Medicine and Surgery, 13(5), 364–375. https://journals.sagepub.com/doi/10.1016/j.jfms.2011.03.012
Prata, N. M. (2020). Application of synthetic feline facial pheromones in the veterinary clinic. Veterinary Medicine and Science, 11(2), 52–61. https://www.ncbi.nlm.nih.gov/pmc/articles/PMC7143165/